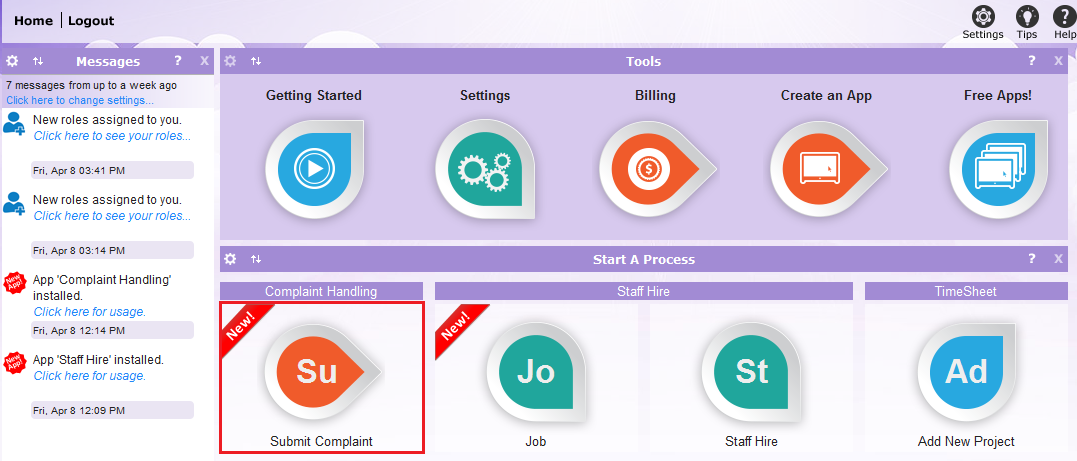
Using the Complaint Handling App
There is one process in this app ‘Submit Complaint’ and it got two roles:
1. The ‘CH Complaint Initiator’ role should be given to users who will be initiating complaints.
2. The ‘CH Complaint Resolver’ role should be given to those who will resolving complaints.
STEP 1: Assign Roles:
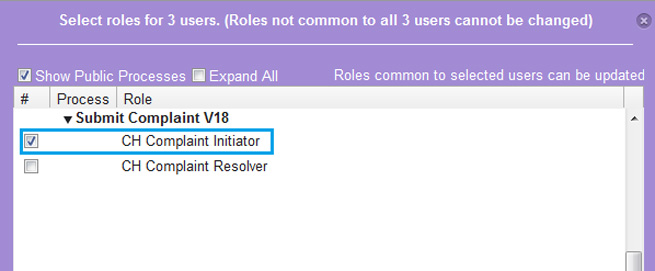
1. Select users for the ‘CH Complaint Initiator’ role:
2. Assign the ‘CH Complaint Initiator’ role:
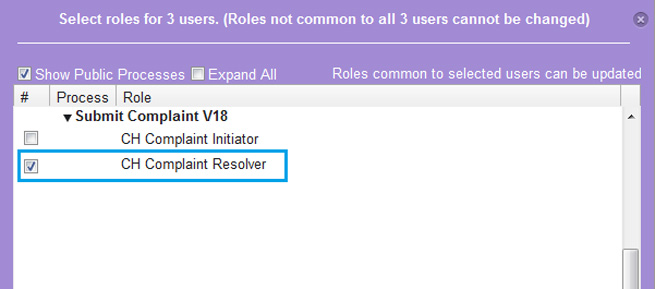
3. Similarly, select the users who should be resolver and give them the ‘CH Complaint Resolver’ role:
STEP 2: Initiate Complaint Request
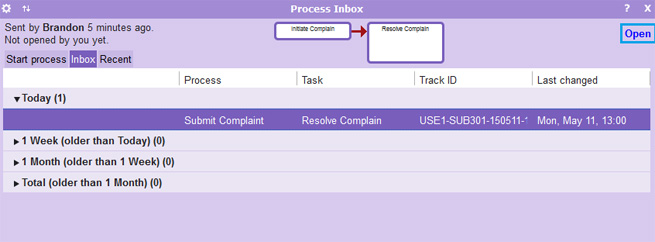
1. A user who is ‘CH Complaint Initiator’ can now log in and initiate complaint handling process:
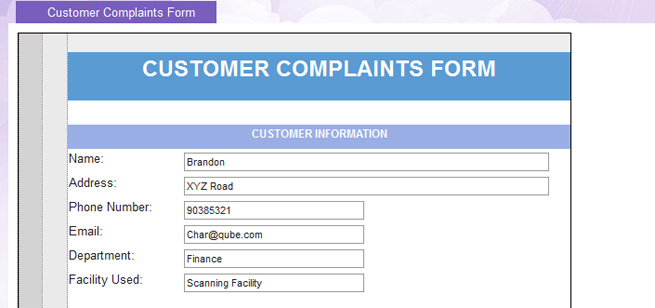
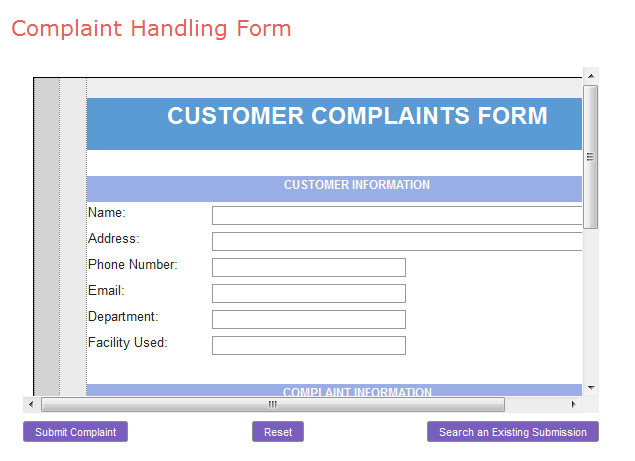
2. Fill out the complaint form.
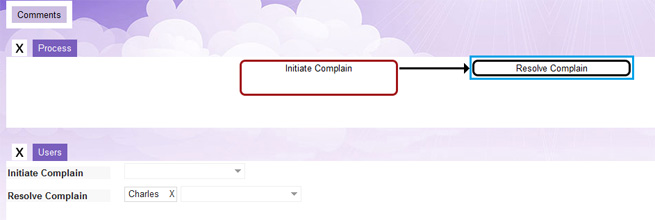
3. Once the form is filled, forward the request to ‘CH Complaint Resolver’ by clicking the ‘Resolve Complaint’ button.
NOTES:
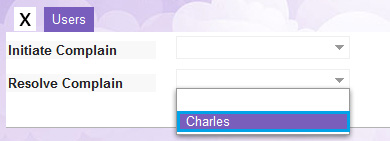
• Pressing the ‘Resolve Complain’ task will send the request to all Resolver. However, the initiator can select a particular Resolver from the ‘Users’ tab:
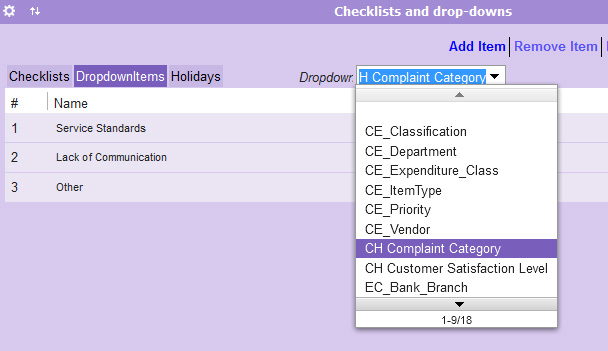
• The admin can define further types of Complaint Category from the dropdown items tab.
STEP 3: Resolve Complaint
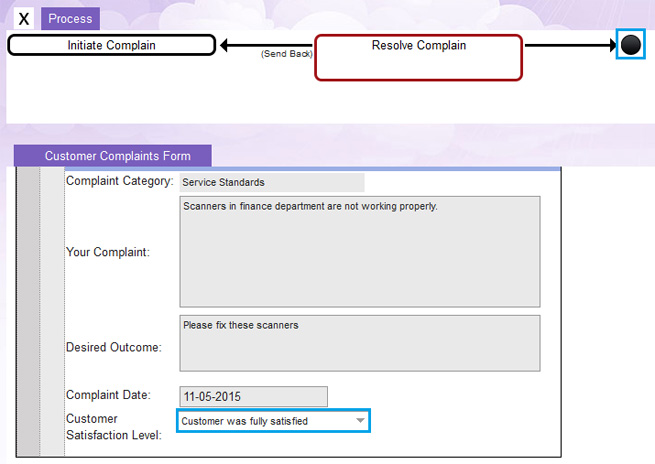
1. A user who has the ‘CH Complaint Resolver’ role can now log in and resolve complaint.
2. Select the customer satisfaction level from the drop down list and click the ‘Finish’ button to end the process.
NOTES:
• If there is a problem use the Comments area to communicate it with the initiator:
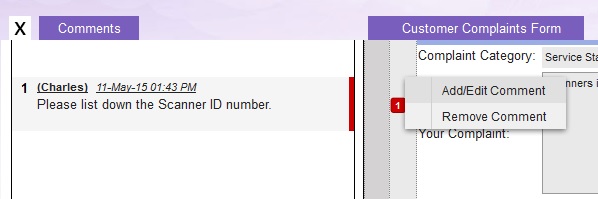
After adding comments send the process back to ‘Initiate Complaint’ task.
STEP 4: How to embed Complaint handling form on Website (optional)
If any company or individual wants to embed Complaint Handling form on to their website, they can by following the steps given below:
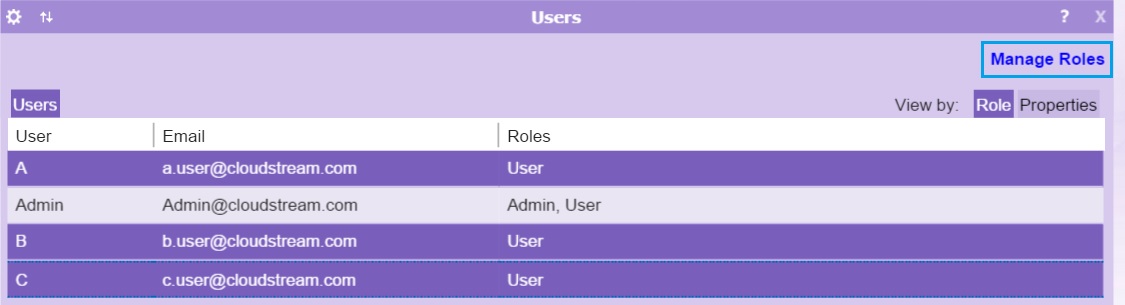
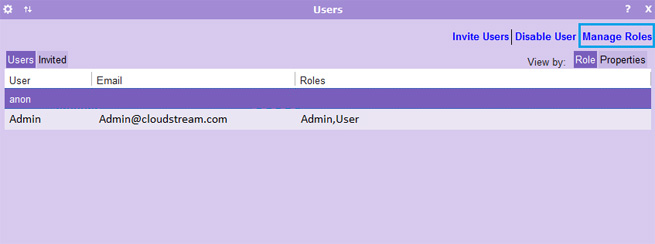
1. User having the admin rights can generate the embedding code by selecting the process from App Viewer. But first Admin needs to assign the process role to ‘Anon’ user.
To assign the role, select the ‘anon’ user and click the ‘Manage Roles’ button.
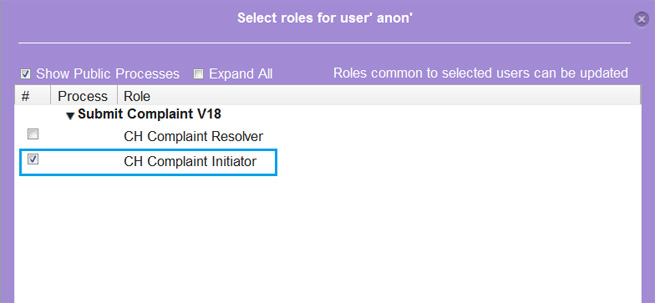
2. Assign the role by placing checkmark on ‘CH Complaint Initiator’. If there are more than one process which uses external links such as ‘Survey form’ or Client Information Request’, then ‘Anon’ user will be assigned the initiator roles for all these processes.
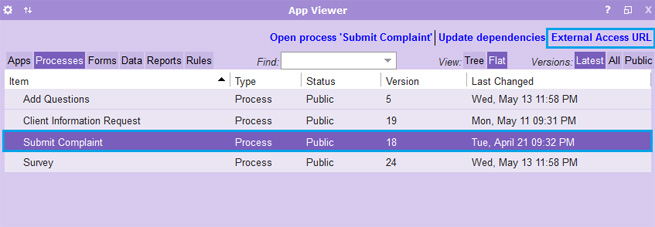
3. After assigning the role go to ‘App Viewer’ tile and select the process tab.
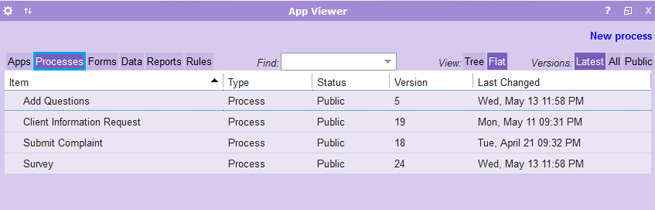
4. Select the Complaint Handling process from the list.
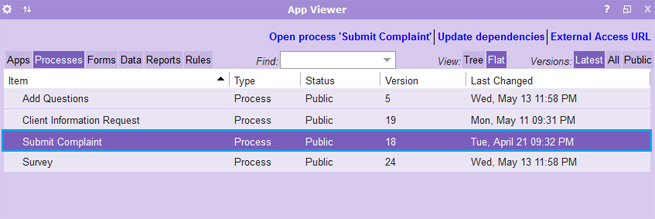
5. Click ‘External Access URL’ on the top right.
6. Enter values in each field. In ‘Web Address’ field copy and paste the URL from your browser. When you paste the URL make sure it is in following format:
http://136.243.227.166:8080/MyApps/
Where ‘MyApps’ will be your App name. Adjust width and height of form according to your requirement.
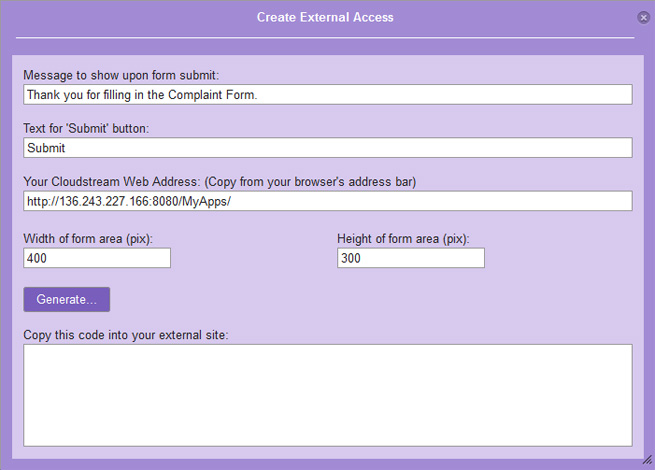
7. After entering all the values click the ‘Generate’ button. Code will appear in the below text box.
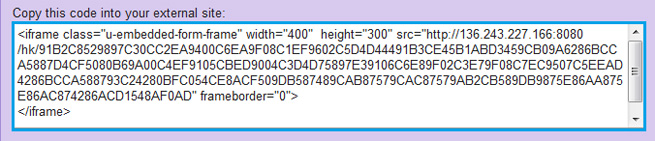
8. Copy the text and embed it into your website.
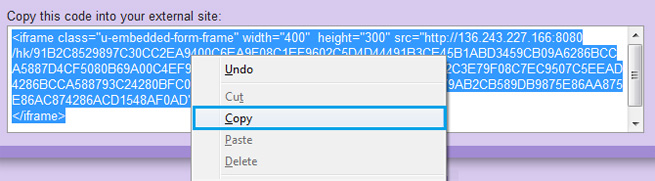
9. After embedding, the form can be accessed from the website.
Note: In case the embedded form is not appearing properly inside the browser then close and open your browser once and try again.
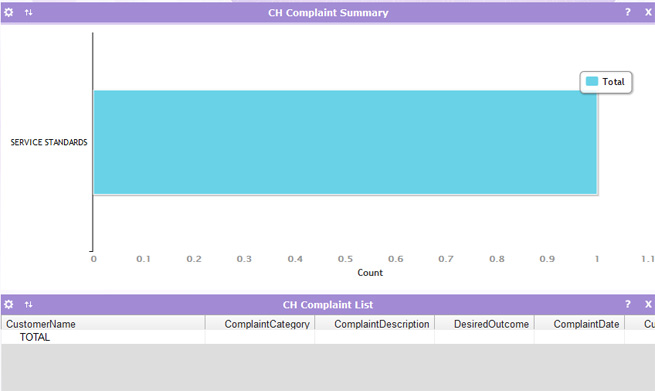
STEP 5: Monitor Reports
1. Select the ‘CH Complaint List’ and ‘CH Complaint Summary’ from the Settings window (Reports tab).
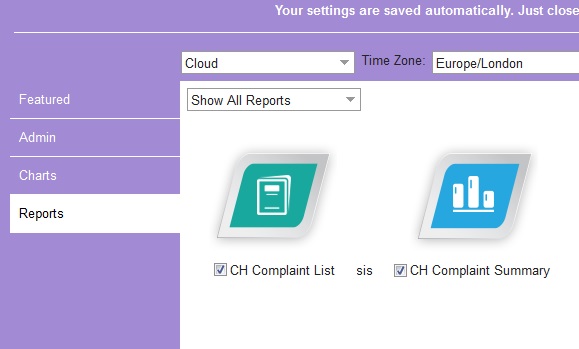
2. View reports in Home Screen.