Using the Capital Expenditure Request App
There is one process in this app: ‘Raise Capital Expenditure Request Process’. It has two roles:
1. The ‘CE_Initiator’ role should be given to users who will raise the capital expenditure request.
2. The ‘CE_Approver’ role should be given to those who will approve the request.
STEP 1: Assign Roles:
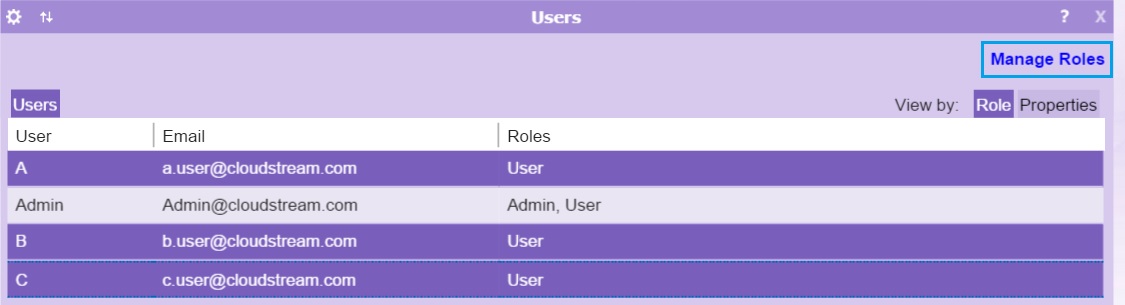
1. Select users for the CE_Initiator role:
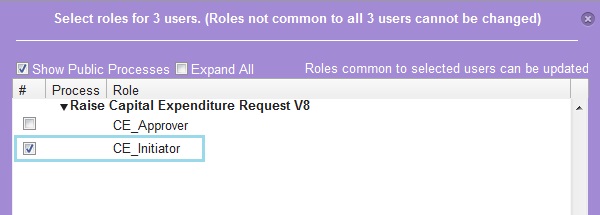
2. Assign the CE_Initiator role:
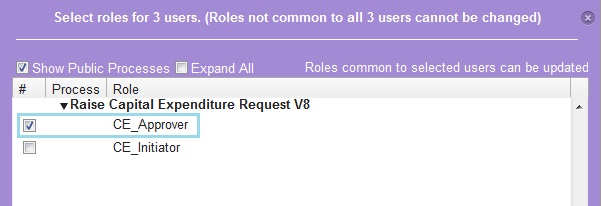
3. Similarly, select the users who should be approvers and give them the ‘CE_Approver’ role:
STEP 2: Raise Capital Expenditure Request:
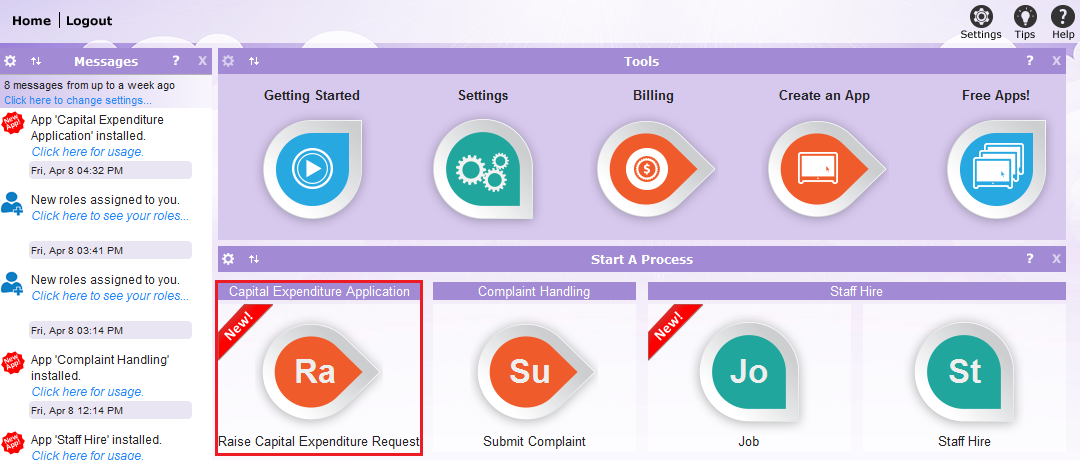
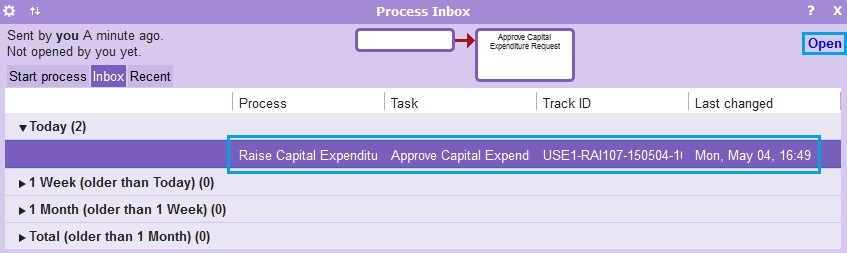
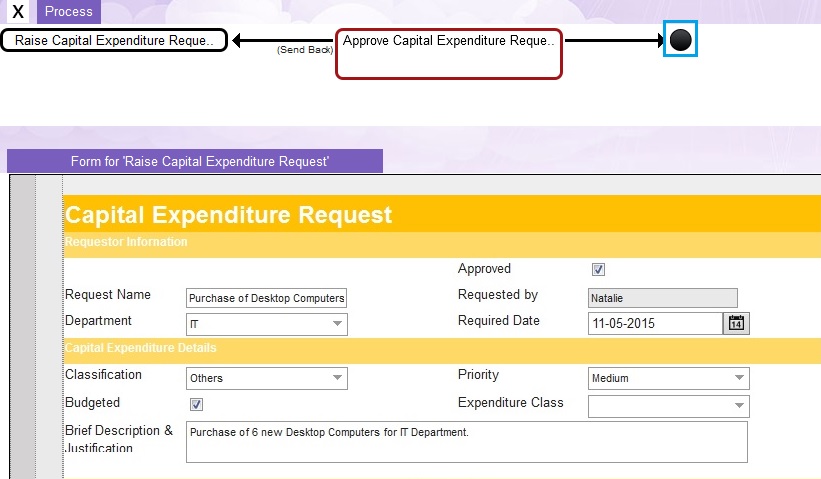
1. A user who is ‘CE_Initiator’ can now log in and raise a request for Capital Expense:
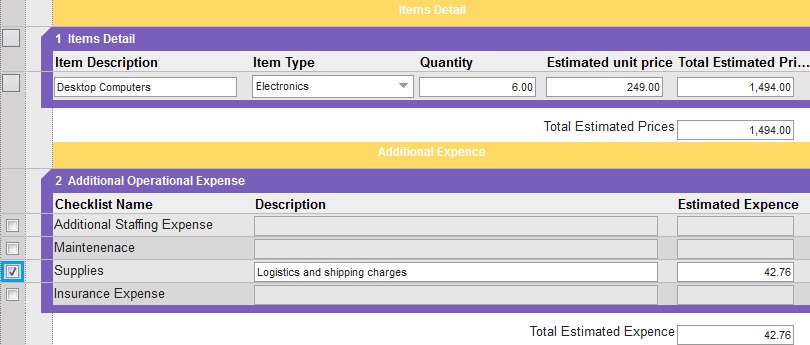
2. Start filling out the expense request form, User can add details for multiple Items by clicking the ![]() button and selecting ‘Add New CE_itemType’ from the pop out menu.
button and selecting ‘Add New CE_itemType’ from the pop out menu.

User can Add ‘Additional Expense’ by placing check mark on checklist they wish to add. Once the fields become editable, user can enter description and estimated expense.
Last section on form is for uploading Quotations to be viewed by the approver. First user needs to add a new quotation row by clicking the ![]() button and selecting ‘Add New Quotation’ from the pop out menu.
button and selecting ‘Add New Quotation’ from the pop out menu.

User can upload the Quotations directly from their machine by clicking the ‘Upload’ button.

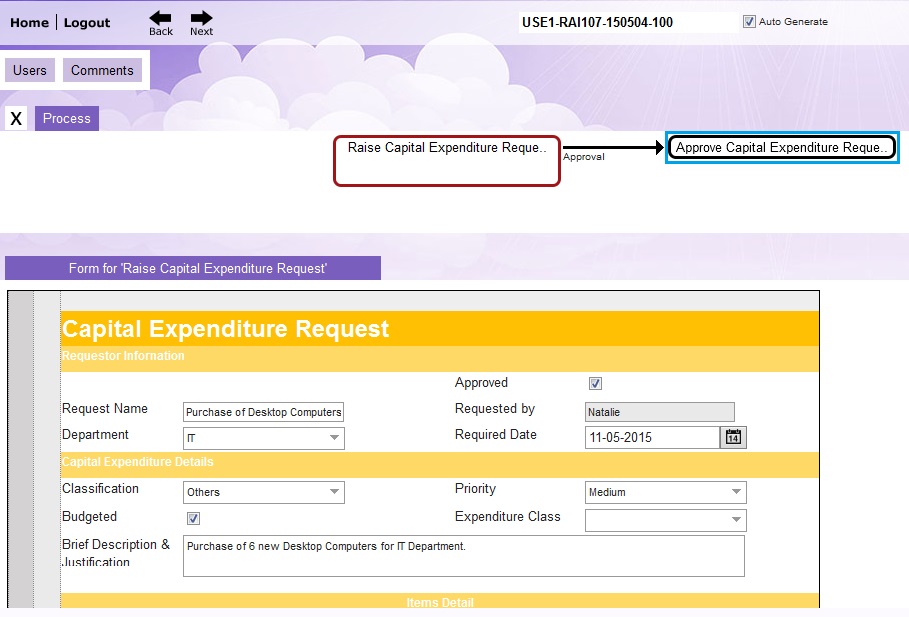
Once the request form is filled then press the ‘Approve Capital Expenditure Request’ task to send it for approval.
NOTES:
• Pressing the Approver task will send the request to all approvers. However, the expense requester can select a particular Approver from the ‘Users’ tab:

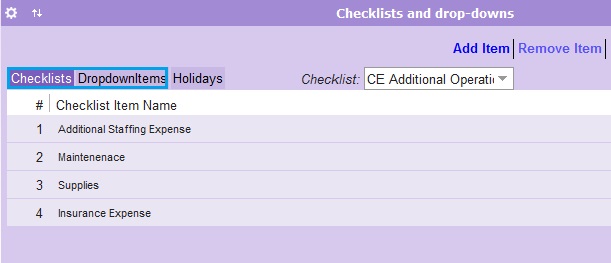
• The admin can define further types of Departments, Classification, Expenditure Class, Additional Operational Expense checklist and Vendor name from checklist and drop down items tab:
STEP 3: Approve Request
1. A user who has the ‘CE_Approver’ role can now log in and approve the leave:
2. Click the ‘Finish’ button after checking the expense request form.
NOTES:
• If there is a problem use the Comments area to communicate it with the request initiator:
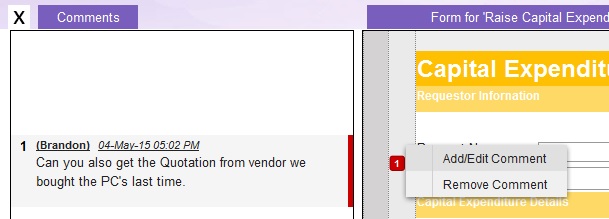
and then send it back using the ‘Requester’ task.
STEP 4: Monitor Reports
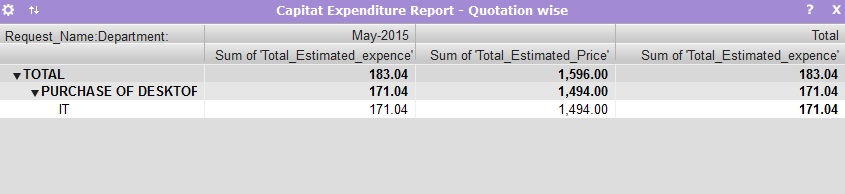
1. Select the ‘Capital Expenditure Report’ from the Settings window (Reports tab).
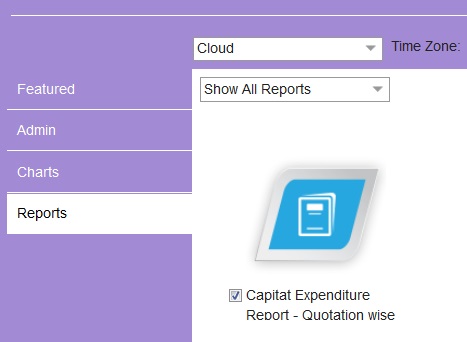
2. The report appears and shows list of expense quotation wise: